How to change the home link with an image
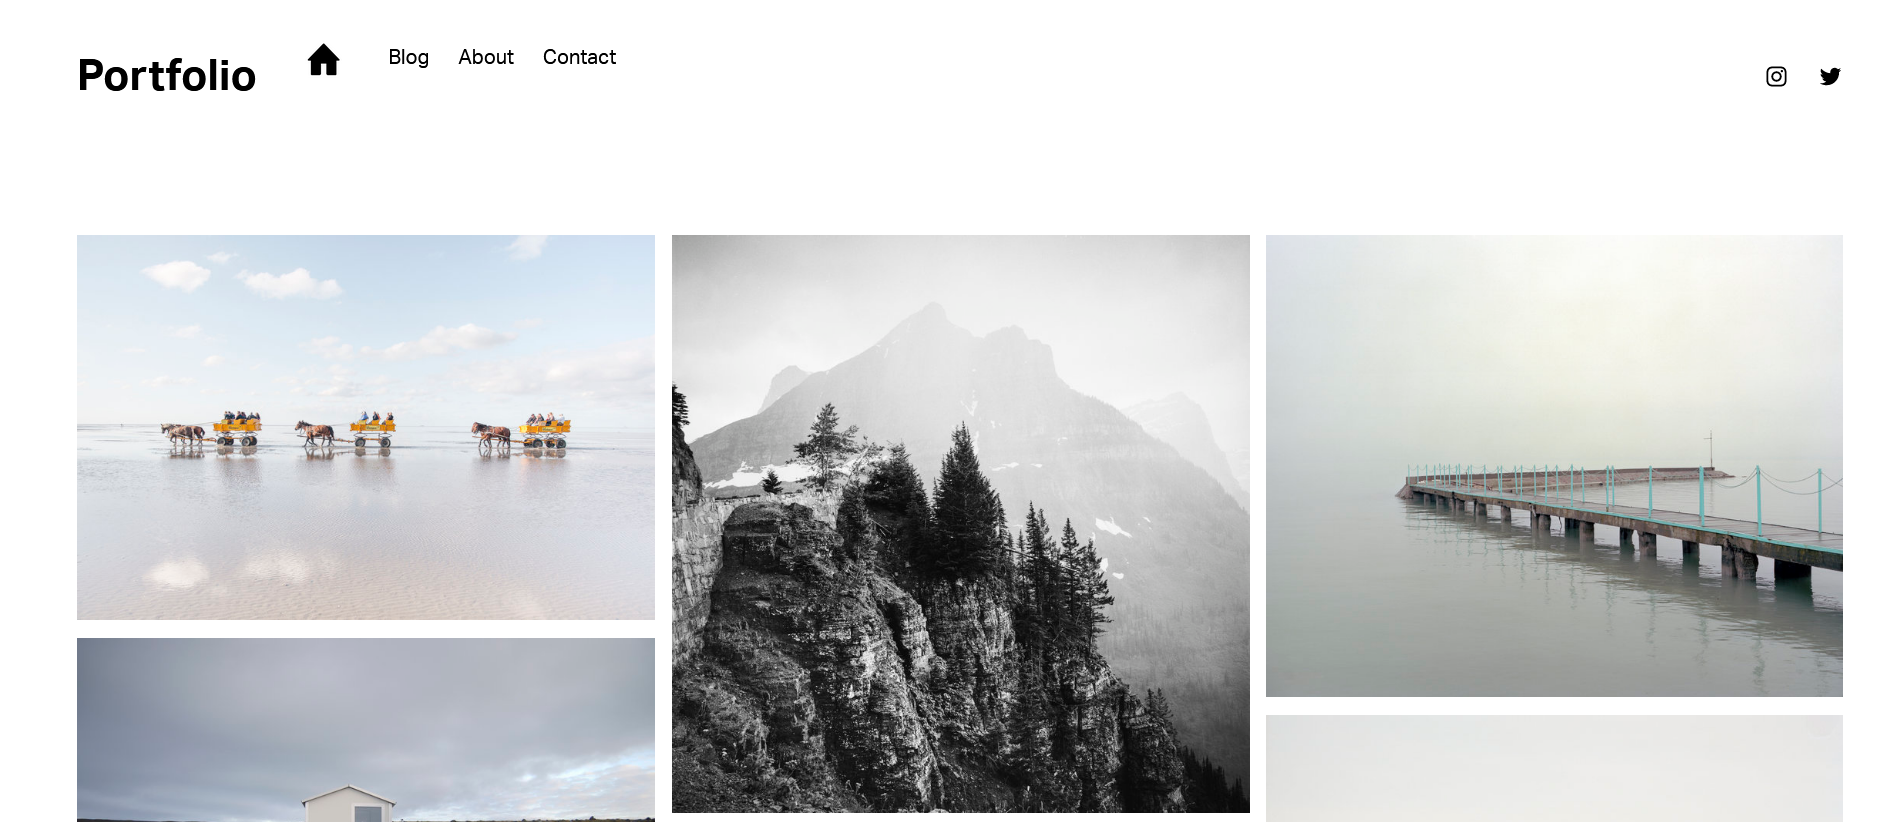
This tutorial will show you how to change the home link on your website with an image or icon. This will work for Squarespace 7.1
The home link text is typically displayed at the top of a website and serves as a way for users to quickly return to the homepage of the website. While text-based links are a common way to display the home link, there may be instances where using an image instead is more appropriate. One reason to use an image instead of text is for visual appeal. A well-designed image can add an element of interest and help to enhance the overall design of the website. Additionally, an image may be more attention-grabbing than a simple text link and can draw users' eyes to the home button. This can be particularly useful if the website is designed to showcase visual content, such as photographs or artwork.
Another reason to use an image instead of text is to reinforce brand recognition. A company logo or a symbol associated with the brand can be used as the home button image, making it easier for users to associate the website with the brand. This can be particularly useful for businesses with strong brand recognition or for websites that are associated with a particular product or service. Using an image as the home button can also help to create a sense of consistency throughout the website, as the same image can be used in other areas of the website to reinforce the brand identity.
Complexity: Easy
Step 1
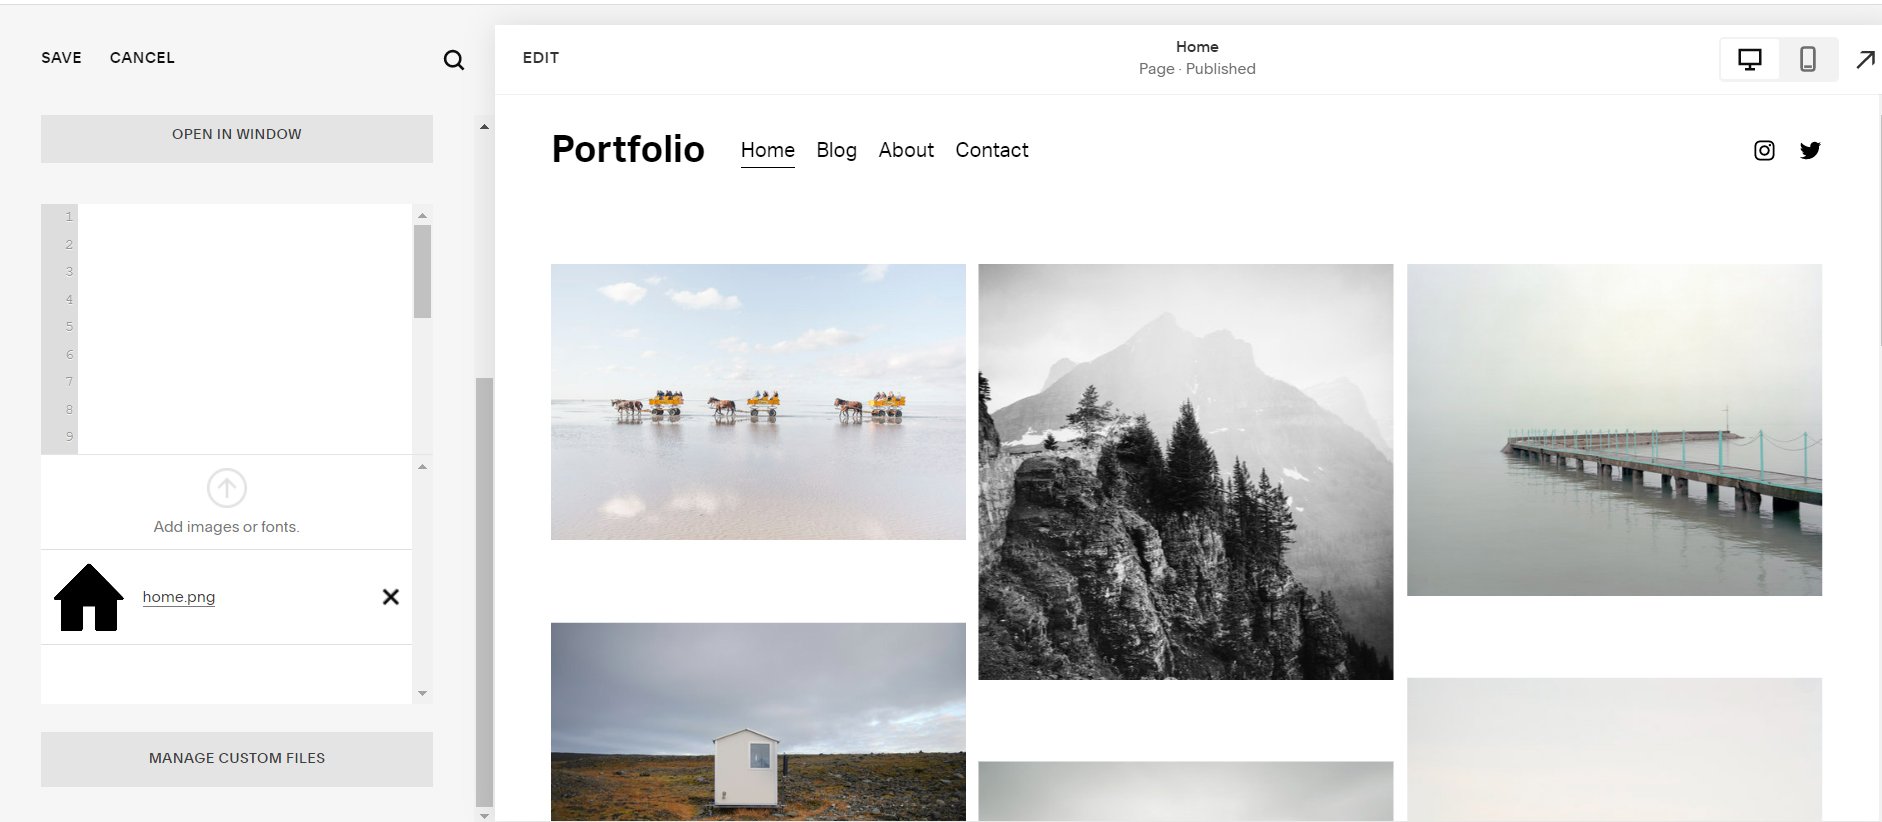
First thing we need to do is upload your image or icon onto Squarespace.
From the Squarespace dashboard navigate to:
Design > Custom CSS and at the bottom click on the 'MANAGE CUSTOM FILES' button and then click on the 'Add image or font' button to upload your image/icon.
Step 2
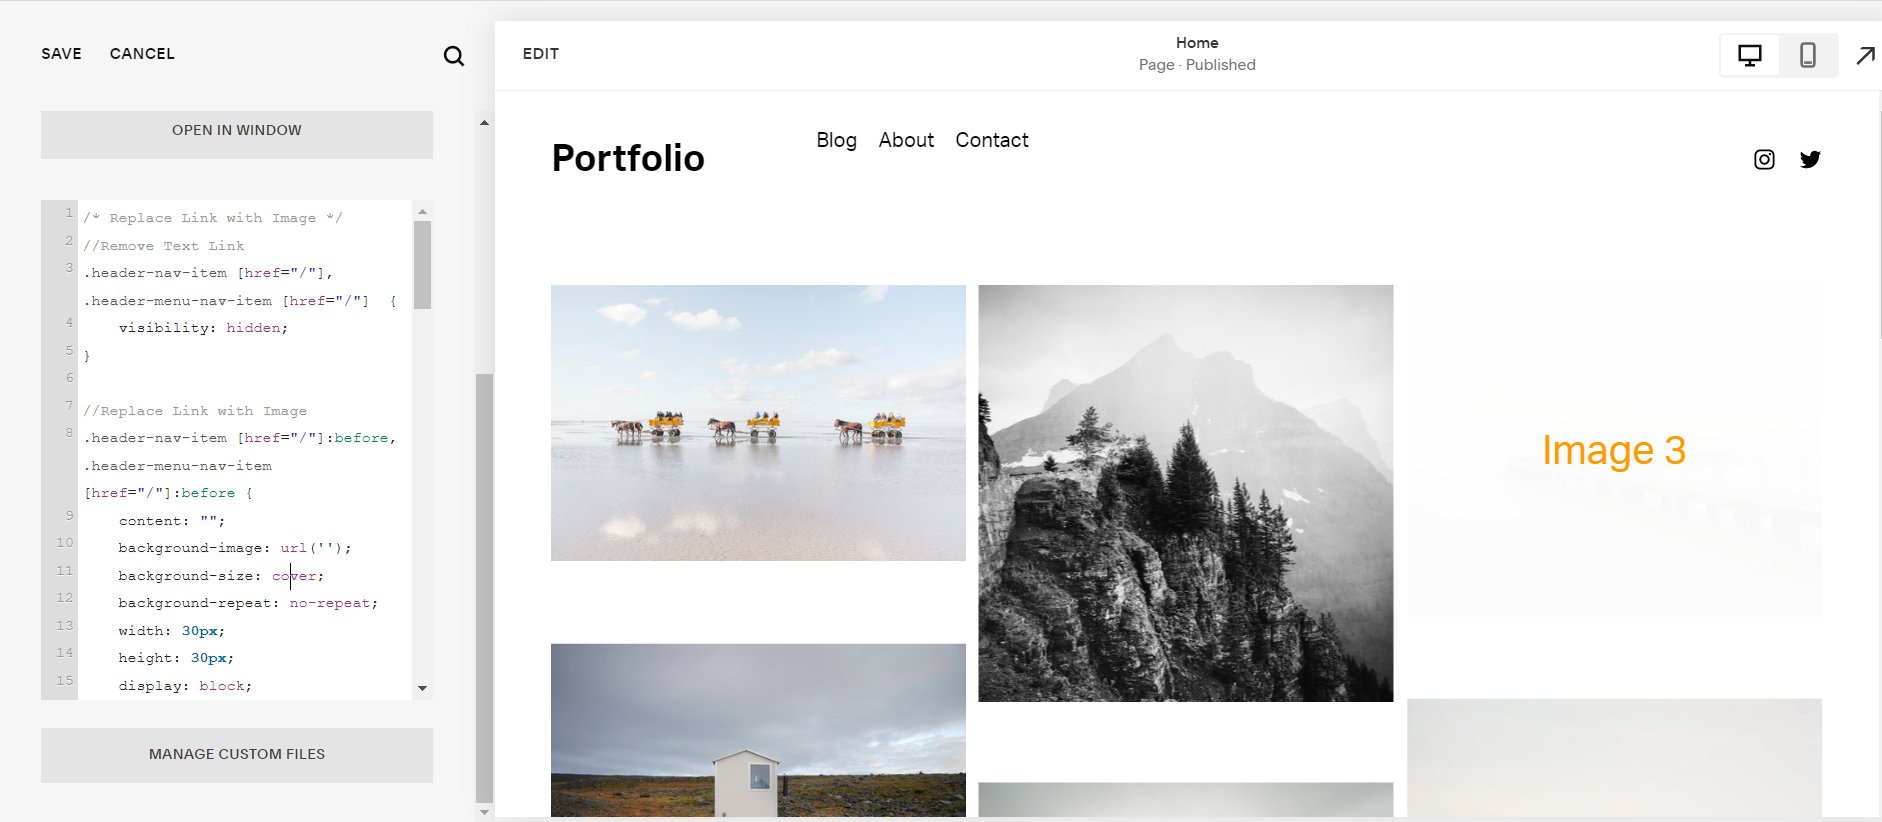
The next step will be to add the css code
/* Replace Link with Image */
//Remove Text Link
.header-nav-item [href="/"], .header-menu-nav-item [href="/"]  {
	visibility: hidden;
}

//Replace Link with Image
.header-nav-item [href="/"]:before, .header-menu-nav-item [href="/"]:before {
    content: "";
    background-image: url('');
    background-size: cover;
    background-repeat: no-repeat;
    width: 30px;
    height: 30px;
    display: block;
	visibility: visible;
}

// Align Mobile Menu
.header-menu-nav-folder-content {
  justify-content: flex-start; /* vertical alignment of navigation - options are flex-start, flex-end, center */
  text-align: left; /* navigation text alignment - options are right, left, center */
}
/* End Replace Link with Image */
Step 3
Assign image/icon to link.
To do this place your cursor in between ' ' in background-image: url (' '); line.
Then click the ‘MANAGE CUSTOM FILES’ to show the image/icon, lastly click on the image/icon to be assigned to the link once.
Step 4
Tweak the width and height values to your needs.
    width: 30px;
    height: 30px;
Step 5
Finally align the mobile links.
// Align Mobile Menu
.header-menu-nav-folder-content {
  justify-content: flex-start; /* vertical alignment of navigation - options are flex-start, flex-end, center */
  text-align: left; /* navigation text alignment - options are right, left, center */
}
Vertical alignment of the mobile menu
justify-content: flex-start;
The options are: flex-start, flex-end, center
Horizontal alignment of the mobile menu
text-align: left;
The options are: right, left, center
You can also look at our “How to add custom icons images to Squarespace 7.1 navigation” blog.
If you have any questions or need any help with your Squarespace website design, you can book a 1:1 consultation.
All work in this guide is provided ‘as-is’. Other than as provided in this agreement, this guide makes no other warranties, expressed or implied, and hereby disclaims all implied warranties, including any warranty of fitness for a particular purpose.
If you require professional advice, we recommend that you purchase the services of a developer.


