How to upload mp4 files that autoplay and loop on Squarespace
This tutorial will show you how to upload mp4 video files that autoplay and loop on Squarespace. This code works on Squarespace 7.1 only.
Currently all 7.1 sites regardless of plan, now come with 30 minutes of video storage for files. With the Member Area plans the amount of video storage increases.
Complexity: Easy
Step 1
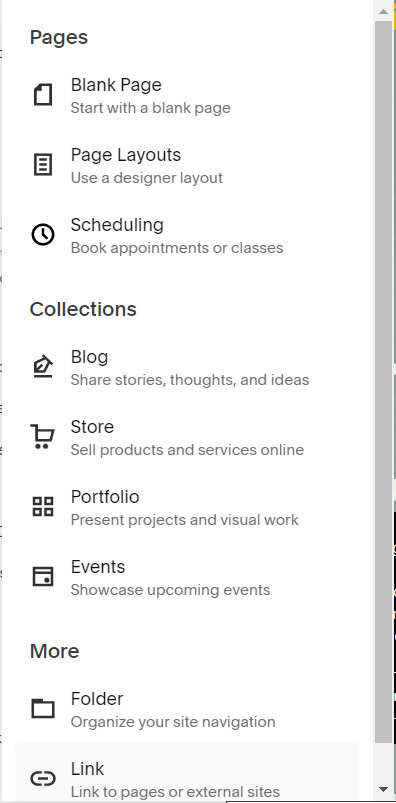
Upload video file by clicking on the link option
Step 2
Then click on the gear icon, like the one shown below.
Step 3
In order for you to be able to upload the video file, click on the ‘UPLOAD FILE’ link. Then click on the close label.
Step 4
Go to the page you wish to display the video and add the code below.
Enter the file name. Note, leave the /s/ before the file name.
<video style="width: 100%" controls
   autoplay="true" loop="true">
    <source type="video/mp4" src="/s/[FILE_NAME]">
   Your browser does not support the video tag.
</video>
Click here for more information on video customisation
If you have any questions or need any help with your Squarespace website design, you can book a 1:1 consultation.
All work in this guide is provided ‘as-is’. Other than as provided in this agreement, this guide makes no other warranties, expressed or implied, and hereby disclaims all implied warranties, including any warranty of fitness for a particular purpose.
If you require professional advice, we recommend that you purchase the services of a developer.


